
Stay updated!
Subscribe to our Newsletter and get notified on latest releases.


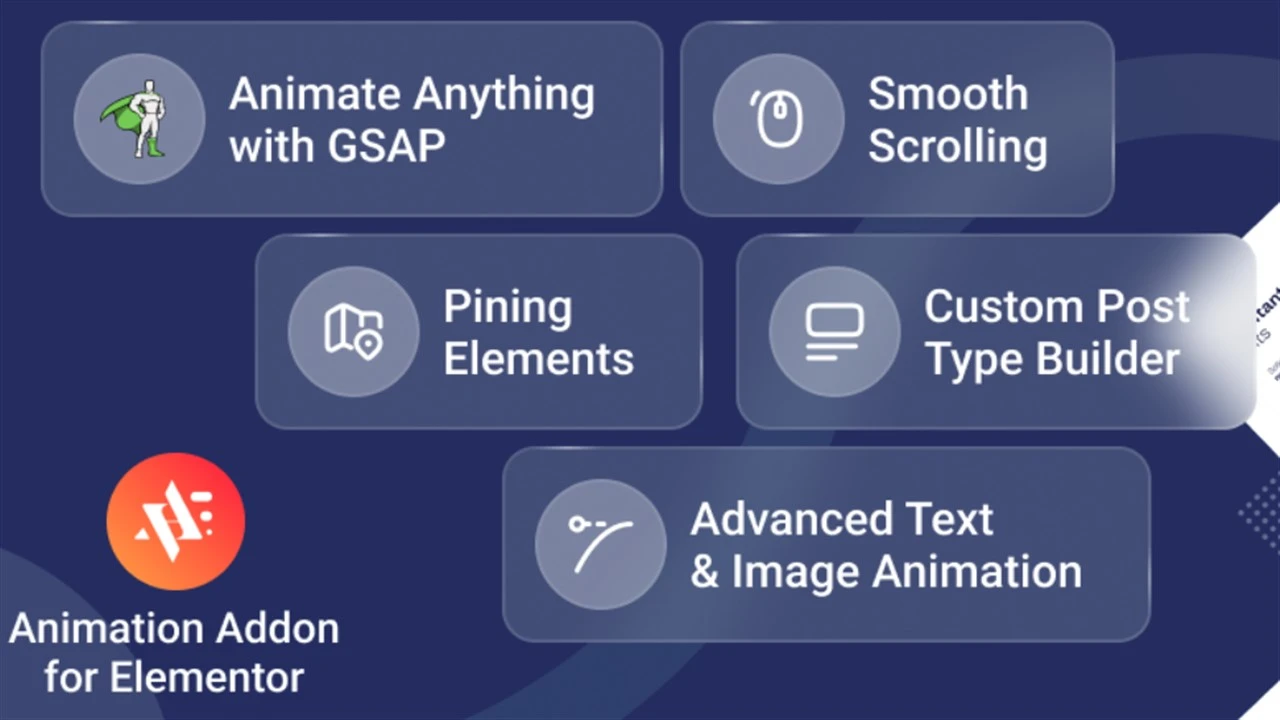
Create captivating effects such as scroll-triggered animations, smooth transitions, and other interactive elements by integrating GSAP with Elementor. Their smooth combination will deliver an immersive, professional user experience that leaves a lasting impression.

Animations are essential for developing visually appealing websites and engaging your target audience. GSAP provides a JavaScript library that goes beyond Elementor's built-in animation capabilities. Using GSAP in Elementor can considerably improve your website design.
But the question is, how do we use GSAP in Elementor? It's straightforward! In this beginner-friendly guide, I'll break down the step-by-step process. Ready to take your web designs to the next level? Let's dive in!
Integrating GSAP with Elementor can help you create advanced animations. You can bring dynamic interactivity to your WordPress site by integrating a bunch of code snippets. Below is a detailed guideline:
To add GSAP via a CDN link, go to your WordPress dashboard. Navigate to Appearance > Theme File Editor > functions.php. Or go to Plugins > Add New Plugin to install a plugin like Code Snippets. Then, insert the following code in your theme's functions.php file or Code Snippets. This includes GSAP on your site globally.
function enqueue_gsap_script() {
    wp_enqueue_script('gsap', 'https://cdnjs.cloudflare.com/ajax/libs/gsap/3.12.2/gsap.min.js', array(), null, true);
}
add_action('wp_enqueue_scripts', 'enqueue_gsap_script');


Option 2: Local Installation
Download GSAP from the official GreenSock website. Upload the gsap.min.js file to your theme directory, for example, wp-content/themes/your-theme/js/. Now enqueue the following script in functions.php:


 function enqueue_gsap_local() {
    wp_enqueue_script('gsap-local', get_template_directory_uri() . '/js/gsap.min.js', array(), null, true);
}
add_action('wp_enqueue_scripts', 'enqueue_gsap_local');
Download GSAP from the official GreenSock website. Upload the gsap.min.js file to your theme directory, for example, wp-content/themes/your-theme/js/. Now, enqueue the following script in functions.php:
function enqueue_gsap_local() {
    wp_enqueue_script('gsap-local', get_template_directory_uri() . '/js/gsap.min.js', array(), null, true);
}
add_action('wp_enqueue_scripts', 'enqueue_gsap_local');
Open the Elementor editor and design the section or widget you want to animate. Assign a CSS ID or class to the element. To do so, select the element > Advanced Tab > CSS ID or CSS Classes. For example: Set the CSS ID to animate-me and the CSS class to gsap-anim.
Go to Appearance > Theme File Editor, or use a plugin like Insert Headers and Footers. Insert a script in the footer:
document.addEventListener("DOMContentLoaded", function () {
    gsap.from("#animate-me", {
        duration: 2,
        opacity: 0,
        y: 50,
        ease: "power2.out"
    });
});
This script targets the element with the ID animate-me and animates its opacity and vertical position.
For more complex animations, like staggering elements, write the following code:
document.addEventListener("DOMContentLoaded", function () {
    gsap.to(".gsap-anim", {
        duration: 1.5,
        y: -20,
        opacity: 1,
        stagger: 0.2,
        ease: "back.out(1.7)"
    });
});
The code animates all elements with the class .gsap-anim in a staggered sequence.
Implement the below code to integrate ScrollTrigger for scroll-based animations:
document.addEventListener("DOMContentLoaded", function () {
    gsap.registerPlugin(ScrollTrigger);
    gsap.from(".gsap-anim", {
        scrollTrigger: {
            trigger: ".gsap-anim",
            start: "top 80%",
            end: "bottom 20%",
            toggleActions: "play none none reverse"
        },
        opacity: 0,
        y: 50,
        duration: 1.5,
        ease: "power3.out"
    });
});
Save and preview your site to test the animations. Use browser developer tools to debug issues. Check the console for errors and inspect element selectors for accuracy.
Use lazy loading for non-critical animations to improve site performance. Test the animations across different devices and browsers to ensure responsiveness. Finally, combine and minify JavaScript files for faster loading.
If you encounter issues while using GSAP WordPress animations in Elementor, follow these steps:
Step 1: Check Console Errors
Ensure there are no JavaScript errors in your browser console.
Step 2: Verify Selectors
Ensure the CSS selectors in your GSAP code match the assigned IDs or classes.
Step 3: Test Plugin Conflicts
Deactivate other plugins temporarily to rule out compatibility issues.
Step 4: Use GSAP Debugger
The GSDevTools plugin can help you identify and resolve animation issues effectively.
A website where elements smoothly fade, slide, or rotate into view - delivers a more immersive user experience. To include such impressive animations, GSAP and Elementor plugins have become reliable tools. Here are some benefits:
GSAP, together with Elementor, can form a powerhouse for building visually stunning and interactive websites. If you're a regular Elementor user, you can leverage GSAP's robust animation tools to transform your Elementor pages into engaging experiences. By the way, I've provided the strategies and steps in this guide on how to use GSAP in Elementor. Now it's your turn to implement them to ensure your website achieves new heights of interactivity and visibility.

Subscribe to our Newsletter and get notified on latest releases.
You might also like

Take your website’s design to the next level by setting up GSAP ScrollTrigger with Elementor. Create engaging scroll-based effects, including parallax scrolling, reveal animations, etc., to transform your Elementor-powered WordPress site into an immersive

The preview image in WordPress is usually the featured image, but if not set, it defaults to Open Graph tags, the first image in the post, or a default image. Understanding this helps optimize your content’s visibility and engagement across
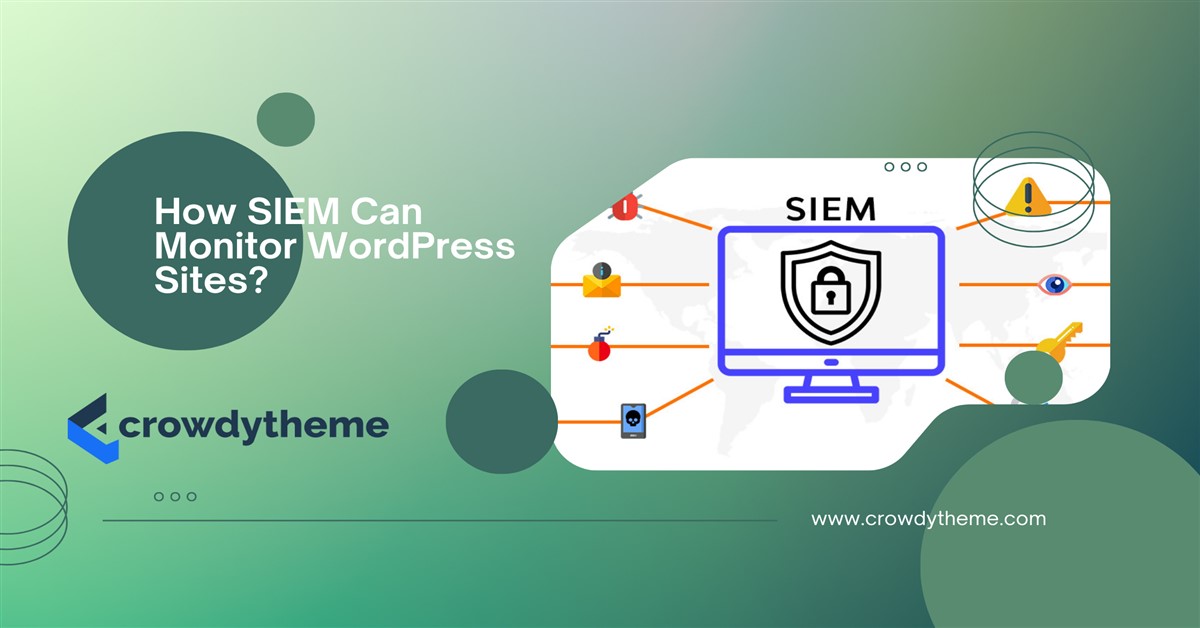
A SIEM system can monitor a WordPress site by analyzing logs, detecting threats, and ensuring security compliance. It can also address key integration and cost