
Stay updated!
Subscribe to our Newsletter and get notified on latest releases.


Take your website’s design to the next level by setting up GSAP ScrollTrigger with Elementor. Create engaging scroll-based effects, including parallax scrolling, reveal animations, etc., to transform your Elementor-powered WordPress site into an immersive experience that captivates users.

The GSAP and its powerful ScrollTrigger plugin allow you to accurately design scroll-based animation for your website. Whether you need to animate images, headings, or other elements based on the user's scroll position, the plugin will deliver great results with minimal effort.
However, it’s crucial to set up GSAP ScrollTrigger in Elementor properly to utilize its full power. How to do so? To help you out, I will take you through the step-by-step process. So stay tuned till the end.
ScrollTrigger is one of GSAP’s most robust plugins. Using ScrollTrigger with the Elementor page builder, you can create scroll-based, precision-crafted animations. Here's a step-by-step guide on setting up GSAP ScrollTrigger in Elementor.
To add GSAP and ScrollTrigger to your WordPress site, go to your WordPress dashboard. Navigate to Appearance > Theme File Editor or use a plugin like Code Snippets.
Add the following code to your theme's functions.php or the Code Snippets tool:
function enqueue_gsap_scrolltrigger() {
    wp_enqueue_script('gsap', 'https://cdnjs.cloudflare.com/ajax/libs/gsap/3.12.2/gsap.min.js', array(), null, true);
    wp_enqueue_script('gsap-scrolltrigger', 'https://cdnjs.cloudflare.com/ajax/libs/gsap/3.12.2/ScrollTrigger.min.js', array('gsap'), null, true);
}
add_action('wp_enqueue_scripts', 'enqueue_gsap_scrolltrigger');
If you want to install them locally, then download GSAP and ScrollTrigger from the GreenSock website. Upload them to your theme directory. Finally, enqueue them in functions.php:
function enqueue_gsap_local_scrolltrigger() {
    wp_enqueue_script('gsap', get_template_directory_uri() . '/js/gsap.min.js', array(), null, true);
    wp_enqueue_script('gsap-scrolltrigger', get_template_directory_uri() . '/js/ScrollTrigger.min.js', array('gsap'), null, true);
}
add_action('wp_enqueue_scripts', 'enqueue_gsap_local_scrolltrigger');
Now it’s time to design the Elementor section. To do so, open the Elementor editor. Design your section or widget that you want to animate, for instance, a heading, image, or button. Go to the "Advanced Tab" of your selected widget or section. Set a CSS ID or CSS class.
To create scroll-based animations, you need to write a custom script using the ID or class assigned earlier. Below is the code example:
document.addEventListener("DOMContentLoaded", function () {
    gsap.registerPlugin(ScrollTrigger);

    gsap.from("#scroll-animate", {
        scrollTrigger: {
            trigger: "#scroll-animate",
            start: "top 80%",
            end: "bottom 20%",
            scrub: true,
            toggleActions: "play none none reverse"
        },
        opacity: 0,
        y: 50,
        duration: 1.5,
        ease: "power3.out"
    });
});
Use a plugin like Insert Headers and Footers to insert the script. You can also add the script directly into your theme. To do so, you need to navigate to Appearance > Theme File Editor. Then add the above-mentioned script in the footer.php file before the </body> tag.
Now save your Elementor design and preview the page. Scroll to the section with the animation and ensure the effect is working as intended. To fine-tune the animation, simply adjust parameters like start, end, scrub, etc.
Look at the code snippets below to include some advanced ScrollTrigger features on your website:
Animate multiple elements sequentially:
gsap.from(".scroll-effect", {
    scrollTrigger: {
        trigger: ".scroll-effect",
        start: "top 90%",
        toggleActions: "play none none reverse"
    },
    opacity: 0,
    y: 20,
    stagger: 0.2,
    duration: 1,
    ease: "power2.out"
});
Pin an element in place during the scroll:
gsap.to("#scroll-animate", {
    scrollTrigger: {
        trigger: "#scroll-animate",
        start: "top top",
        pin: true,
        pinSpacing: false
    },
    opacity: 1,
    duration: 2
});
Create horizontal scroll effects:
gsap.to(".horizontal-section", {
    scrollTrigger: {
        trigger: ".horizontal-container",
        start: "top top",
        end: "bottom top",
        scrub: true,
        pin: true
    },
    x: "-100%",
    ease: "linear"
});
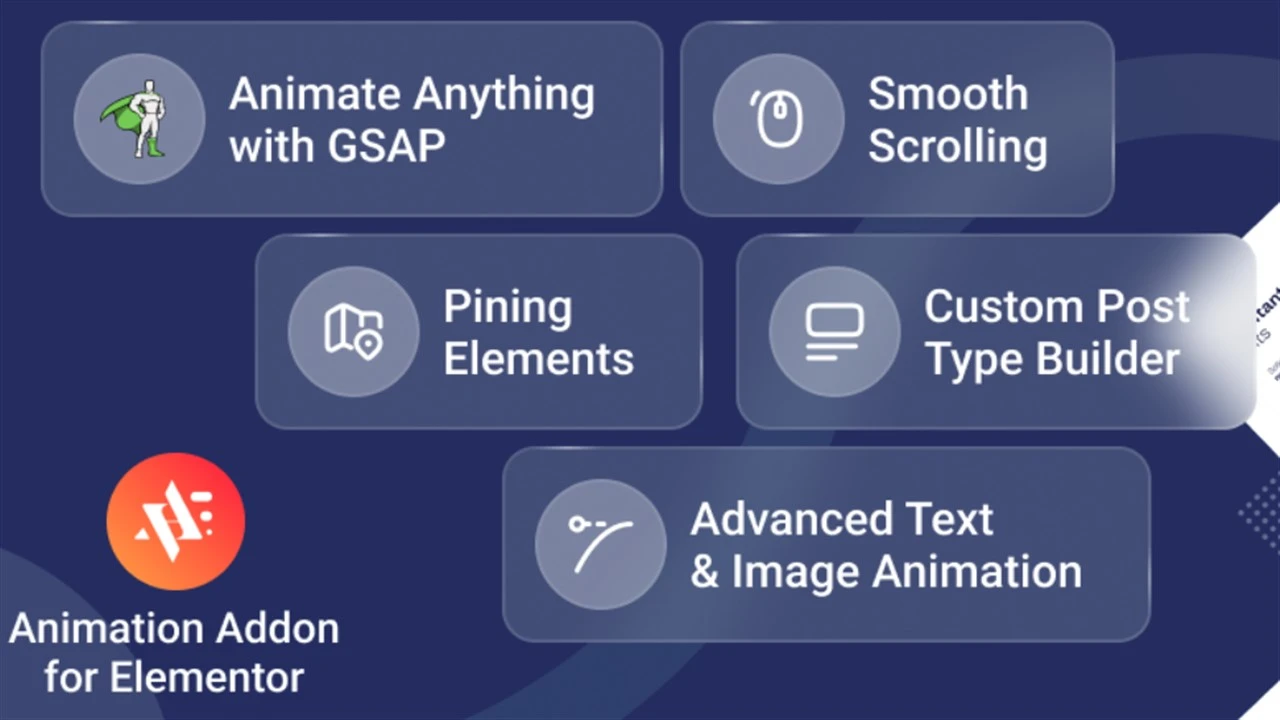
You can also use the Animation Addons for WordPress plugin to use GSAP in Elementor without code.
Incorporating GSAP ScrollTrigger into your website can undoubtedly be a smart move. It not only improves the visual appeal but also boosts user engagement. By pairing GSAP ScrollTrigger with Elementor, you can include advanced features like staggered animations, horizontal scrolling, pinning, and so on.
By the way, this technical GSAP guide has already provided you with the necessary steps, scripts, and components to get your job perfectly done. If you can implement them properly, your website will surely come alive with scroll-activated effects.

Subscribe to our Newsletter and get notified on latest releases.
You might also like
Create captivating effects such as scroll-triggered animations, smooth transitions, and other interactive elements by integrating GSAP with Elementor. Their smooth combination will deliver an immersive, professional user experience that leaves a lasting

The preview image in WordPress is usually the featured image, but if not set, it defaults to Open Graph tags, the first image in the post, or a default image. Understanding this helps optimize your content’s visibility and engagement across
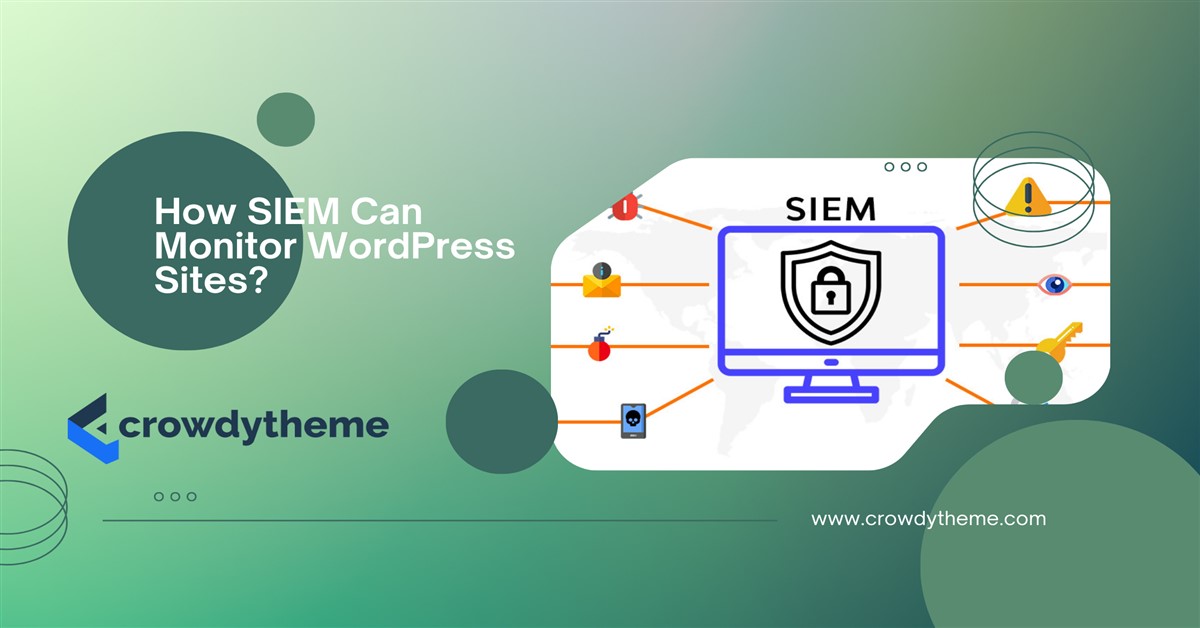
A SIEM system can monitor a WordPress site by analyzing logs, detecting threats, and ensuring security compliance. It can also address key integration and cost